Brake Pads vs Rotors: 10 Checks to Keep You Safe (2026)
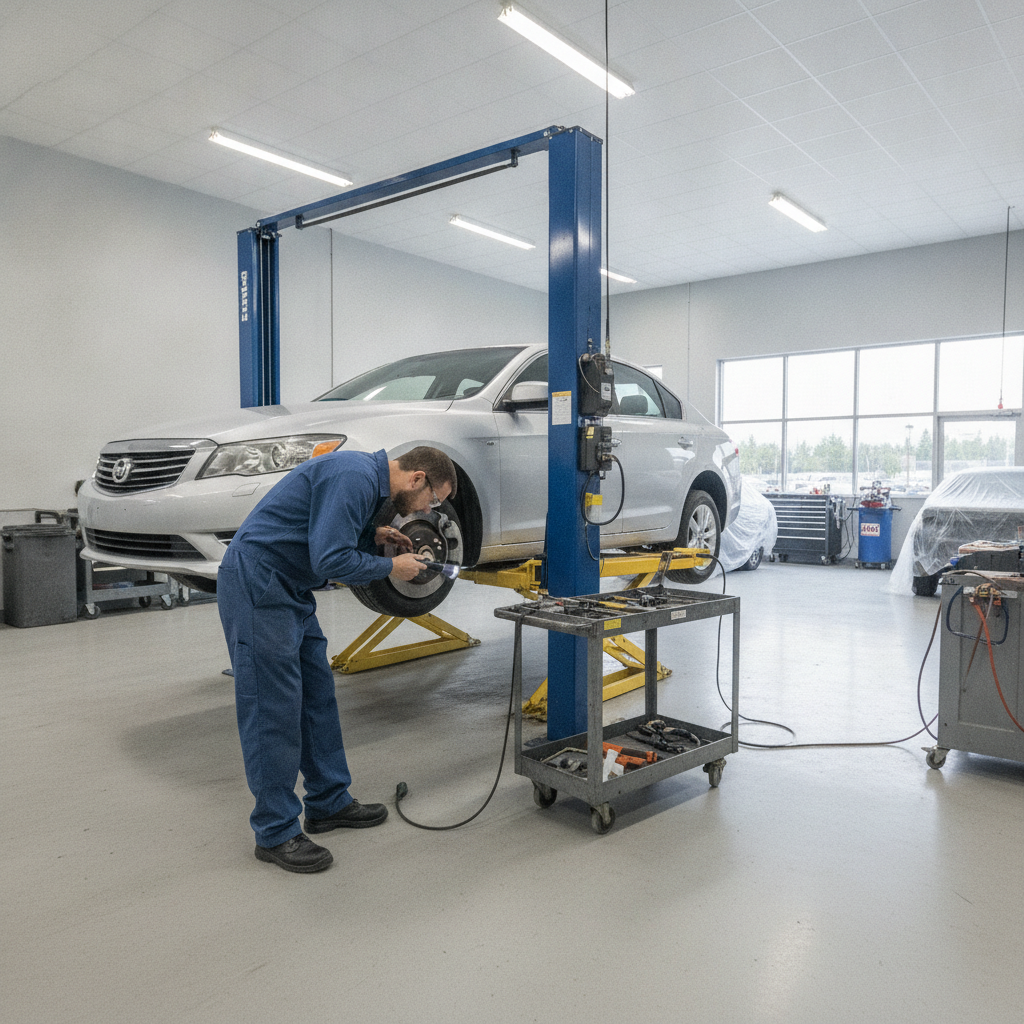
Brake pads vs brake rotors refers to the two core friction components in a disc brake: pads clamp onto rotors to slow your car. Pads wear faster; rotors provide the surface and can warp or thin. Knowing which part needs attention first keeps Burnaby drivers safer and reduces repeat repairs.
By A1 Buller Auto Collision • Last updated: July 4, 2026
At a Glance Summary
Brake pads wear out sooner than rotors, but rotors set the safety baseline. Inspect pad thickness, rotor condition, pedal feel, and heat signs. Replace pads when thin or glazed; service or replace rotors when below minimum thickness, cracked, or uneven. Proper diagnosis prevents noise, vibration, and longer stopping distances.
If you’re sorting out brake pads vs rotors, here’s the short version. Pads are consumables that usually get replaced first. Rotors last longer but must meet minimum thickness and runout specs. A1 Buller’s certified technicians in Burnaby inspect both so you don’t swap the wrong part and chase the same symptom again.
- Primary functions: pads provide friction; rotors provide a smooth, flat surface.
- Common symptoms: squeal (pads), pulsation (rotors), grinding (both, often metal-to-metal pads).
- Quick rule: measure first. Pads under about 3–4 mm or rotors below stamped “MIN TH” need replacement.
Brake Pads vs Rotors: Quick Comparison
Brake pads are the replaceable friction blocks that press into the rotor; rotors are the iron discs they clamp. Replace pads when friction material is thin or contaminated. Replace rotors when they’re below minimum thickness, cracked, heavily scored, or cause pedal pulsation from warping or excessive runout.
Before we dive into the checks, use this table to quickly distinguish symptoms and next steps. These are practical shop-level guidelines our Burnaby team uses daily when diagnosing brake complaints after a fender bender or routine service.
| Aspect | Brake Pads | Brake Rotors | When to Replace |
|---|---|---|---|
| Role | Provide friction to slow wheels | Provide a flat, stable clamping surface | Replace worn pads first; rotors as needed |
| Typical wear rate | Fast (consumable) | Slower (service life across pad sets) | Pads at ~3–4 mm; rotors below MIN TH |
| Common symptom | Squeal, grinding, longer stops | Pulsation, steering shudder, grooves | Noise + thin pads; vibration + thin/warped rotors |
| Visual signs | Thin or glazed friction material | Blue spots, cracks, deep scoring | Any crack/blueing or below spec |
| Measurements | Pad thickness (mm) | Rotor thickness and runout | Below spec → replace |
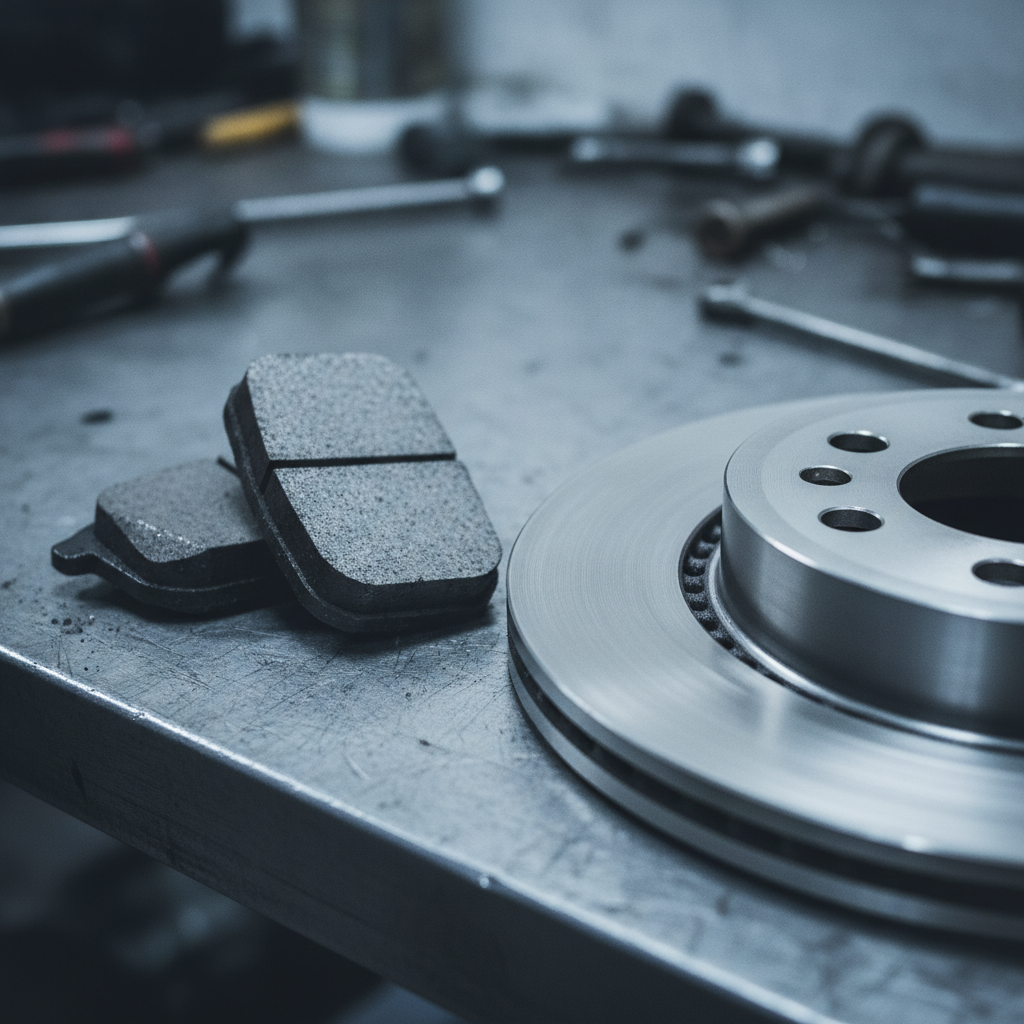
Our Top Pick: Start With Pad Thickness, Then Check Rotor Spec
The most reliable order is to measure pad thickness first, then measure rotor thickness and runout. Replace pads that are thin or contaminated; replace or machine rotors only if they’re below minimum thickness or cause pulsation. This sequence fixes 80%+ of brake complaints efficiently.
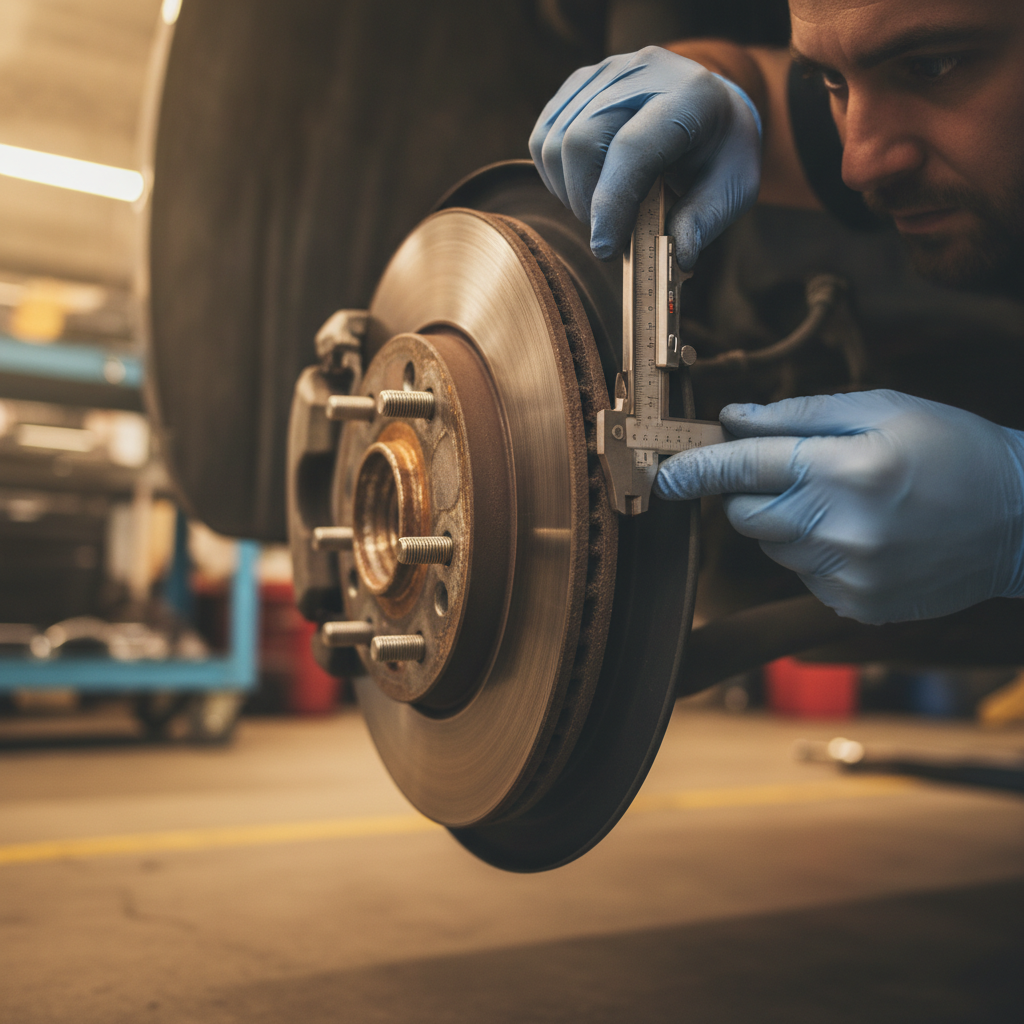
When people ask “pads or rotors?”, our answer is “measure both—in that order.” Most brake jobs we see at A1 Buller begin with pads approaching 3–4 mm. Rotors often look serviceable at a glance, but a micrometer reveals if they’re at or below the manufacturer’s minimum thickness (stamped on the hat or edge) and a dial indicator shows excessive runout.
- Pad threshold: many vehicles benefit from new pads around 3–4 mm to restore bite and reduce noise.
- Rotor threshold: if thickness is below the rotor’s “MIN TH” or if runout exceeds spec, replacement is the safe call.
- Why this order: if rotors are fine, you avoid unnecessary rotor work and keep costs focused on the wear item.
In our Burnaby shop, we routinely document pad and rotor measurements on your work order so you know exactly why a part is being replaced. That transparency helps prevent repeat visits for the same vibration or squeal.
Entries #2–10: The Rest of the Must-Do Brake Checks
After measuring pads and rotors, verify hardware condition, brake fluid, caliper slide motion, wheel alignment, tire health, and real-world road test results. These checks isolate squeal, grinding, or pulsation to the right part and confirm your brakes stop straight and predictably at city speeds.
Use these nine focused checks to confidently separate a pad issue from a rotor issue. This sequence mirrors what our certified technicians do daily, especially when collision damage or wheel impacts may have introduced hidden brake and suspension problems.
Entry #2: Rotor Surface Condition (Blueing, Cracks, Scoring)
- Blue spots indicate overheating; micro-cracks or deep grooves mean the rotor has been stressed beyond its comfort zone.
- Action: if cracks are visible or grooves are deep enough to catch a fingernail, plan on rotor replacement, not machining.
- Why it matters: overheated rotors can harden unevenly, leading to persistent pulsation even with new pads.
Example: After a downhill drive, a Burnaby commuter reports steering shake. We often find discolored rotor rings and glazed pads; replacing both brings back smooth, predictable stops.
Entry #3: Pad Wear Pattern and Taper
- Even pad wear suggests healthy caliper slides and pistons; tapered wear points to sticking hardware or misalignment.
- Action: if one pad is far thinner than its mate, service caliper pins, boots, and abutment clips, then reassess rotor surface.
- Tip: lubricate slides with high-temp synthetic brake grease and replace rusty hardware.
Uneven wear often appears after wheel impacts. It’s common in collision repairs, which is why A1 Buller pairs brake inspections with a quick look at control arms and knuckles when needed.
Entry #4: Runout and DTV (Disc Thickness Variation)
- Runout is rotor wobble per revolution; DTV is thickness fluctuation. Both cause pedal pulsation and steering shake.
- Action: measure runout with a dial indicator at the rotor edge and DTV with a micrometer around the disc at 8–12 points.
- Rule of thumb: if you can feel pulsation under light braking from 40–50 mph, suspect runout or DTV.
We see this after a curb strike near Royal Oak Station—hub faces pick up rust or deformation, which transfers to the rotor. Cleaning or replacing the affected components resolves the feedback.
Entry #5: Brake Fluid Condition and Pedal Feel
- Spongy pedal with normal pad thickness and good rotors points to fluid condition or air in lines, not pad/rotor wear.
- Action: test fluid moisture content; flush if contaminated. Bleed the system after caliper or hose work.
- Why it matters: fluid boils under heat; fresh, air-free fluid maintains firm pedal response.
Even perfect pads and rotors can’t compensate for degraded fluid. After body repairs, line opens and hose kinks can introduce air—another reason we road test and re-bleed when needed.
Entry #6: Caliper Slide, Piston, and Parking Brake Function
- Sticking slides or pistons cause one-sided pad wear and hotspots on the rotor.
- Action: free and lubricate slides, inspect dust boots, and verify the parking brake isn’t dragging.
- Clue: a hot metallic smell after short trips suggests a dragging pad and overheating rotor.
We’ve found seized rear parking brake mechanisms after vehicles sit post-collision. Freeing mechanisms and replacing affected pads/rotors returns normal temperatures and even wear.
Entry #7: Wheel Alignment and Suspension Health
- Pulling under braking isn’t always pad material; it can be camber/toe issues or a bent control arm.
- Action: verify alignment and suspension after impacts; correct geometry before blaming pad compound.
- Result: straight-line stops without steering input and even pad imprinting on rotors.
Our alignment rack helps catch these hidden causes. It’s why brake replacement and wheel alignment often appear together on our Burnaby repair plans.
Entry #8: Tires, Tread Depth, and Wheel Torque
- Out-of-balance or unevenly worn tires amplify brake vibration and can mask rotor issues.
- Action: check tread depth and patterns; confirm lug nuts are torqued to spec in a star pattern.
- Reminder: over-torqued lugs can distort rotors and hubs, creating runout.
When we replace tires, we always re-check braking feel. Fresh rubber shortens stopping distances—pads and rotors can only do so much without good tire grip.
Entry #9: Bed-In Procedure for New Pads/Rotors
- Proper bed-in transfers an even layer of pad material to the rotor, preventing judder.
- Action: perform a series of medium stops (per pad manufacturer guidance) and allow cool-down without holding the pedal.
- Outcome: quiet operation and consistent bite from day one.
We bed-in every new set around Burnaby’s lower-traffic roads to avoid imprinting at lights near busy intersections.
Entry #10: Brake Dust, Cleaning, and Wheel Care
- Excess dust can indicate aggressive pads or dragging hardware; it also hides cracks and scoring.
- Action: clean wheels and calipers safely so you can inspect components clearly.
- Context: washing-only misses embedded grime; detailing processes remove stubborn brake dust.
For a broader look at exterior care that helps inspections, see this primer on detailing vs. washing differences and common car detailing myths that can affect how cleanly your brakes can be inspected.
How to Choose Pads and Rotors for Your Driving
Match pad compound and rotor design to your commute, climate, and towing needs. Daily drivers prefer ceramic or low-dust semi-metallic pads with smooth, OEM-style rotors. Towing or mountain driving benefits from higher-temp semi-metallic pads and robust rotors that resist fade and cracking.
Pad compound and rotor style should reflect where and how you drive in and around Burnaby. Short urban trips with frequent stops call for smooth, quiet pads and rotors. Mountain descents to the east generate heat; here, higher-temperature materials shine. We document brand and compound on your work order so you get the same feel next visit.
- Pad compounds: ceramic (quiet, low dust), semi-metallic (strong bite, higher dust), organic (soft, quieter, shorter life).
- Rotor types: solid/smooth (OEM-like), vented (better heat dissipation), drilled/slotted (niche use; can accelerate wear if misapplied).
- Driving profile: stop-and-go city vs. highway vs. mountain—choose for temperature range and noise tolerance.
Avoid sanding rotors with aggressive abrasives. Surface conditioning requires the right equipment; generic abrasive backing pads for grinders are not for on-car rotor finishing—see an example of a backing pad assembly that’s meant for general abrasive wheels, not precision brake rotors.
Buying Guide: Signs You Need Pads, Rotors, or Both
Replace brake pads when friction material is near 3–4 mm, when wear sensors chirp, or when braking feels longer. Replace rotors when below “MIN TH,” cracked, heavily scored, or causing pulsation. If pads are metal-to-metal, expect to replace both to restore safe stopping.
Here’s a practical path Burnaby drivers can use before scheduling service. You don’t need special tools for the early steps—just your senses and a flashlight.
- Listen: scraping or chirping often signals pad wear sensors contacting the rotor.
- Look: through the wheel spokes, eyeball pad thickness and rotor surface for grooves or discoloration.
- Feel: if the pedal pulses at steady speed braking, suspect rotor runout or DTV.
- Smell: hot, acrid odor after a short drive suggests a dragging pad or stuck parking brake.
- Measure: a shop micrometer confirms pad and rotor specs; we record these in your estimate.
When all signs point to both being compromised—say, a grinding noise with deep rotor scoring—we’ll recommend replacing both pads and rotors on that axle. That restores a uniform friction surface and avoids rapid re-contamination of new pads.
Quick Comparison Table (Pads vs. Rotors—Symptoms and Fixes)
Pads cause noise and fade when thin or glazed; rotors cause vibration when warped or thin. If noise dominates, start with pads. If vibration dominates, measure rotors. When both appear—and metal-on-metal is present—replace pads and rotors together on the affected axle.
| Symptom | Most Likely Part | Confirm By | Recommended Fix |
|---|---|---|---|
| Squeal at light braking | Pads (wear sensor or glaze) | Visual pad check; sensor contact | Replace pads; service hardware |
| Pulsation 40–50 mph | Rotor (runout/DTV) | Dial indicator, micrometer | Replace rotor(s); verify hub face |
| Grinding noise | Pads to metal; rotor scored | Pads at 0–1 mm; deep grooves | Replace pads and rotors as a set |
| Pulling under braking | Caliper slide/alignment | Pad taper; alignment check | Service caliper; align vehicle |
| Hot smell after short trip | Dragging pad/parking brake | Wheel temperature variance | Free mechanism; replace affected parts |
Local Tips for Burnaby Drivers
Hilly routes, wet winters, and stop‑and‑go traffic around Burnaby accelerate brake wear. Plan seasonal inspections, avoid riding the brakes on descents, and schedule checks after curb strikes. Local conditions often turn minor pad issues into rotor problems if left unattended.
Local considerations for Burnaby
- Route choice: after events near the Royal Oak Station area, traffic spikes mean more heat cycles—give new pads a proper bed‑in away from congestion.
- Seasonal timing: wet, cool winters can flash‑rust rotors overnight; a short drive clears light rust, but repeated short trips promote uneven deposits—book a spring inspection.
- Collision follow‑ups: light wheel impacts from parking near Ron McLean Park curbs can introduce runout—ask us to check hub faces and rotor runout after any hit.
Where This Meets Real Repairs at A1 Buller
In our Burnaby shop, we pair brake inspections with wheel alignment and tire checks. Many vibrations blamed on rotors trace to curb impacts or over‑torqued lugs. We measure, document, and road test so you get the right fix the first time—often pads first, rotors when specs demand.
Real scenarios we handle weekly:
- Post‑collision brake squeal: new pads and serviced hardware restore quiet brakes without unnecessary rotor replacement.
- Highway-speed pulsation: rotors below spec replaced; hub face cleaned; pulling eliminated with a precision alignment.
- Grinding after long storage: metal‑to‑metal fronts replaced as pad/rotor sets; fluid flush to restore a firm pedal.
Because we also provide wheel alignment, tire replacement, and A/C service, you can address multiple issues in one visit and leave with a car that stops straight and feels composed.
Need a Second Opinion or Fast Brake Check?
If you’re unsure whether pads or rotors are to blame, a quick measurement settles it. We’ll inspect pad thickness, rotor specs, and hardware, then road test. You leave with a clear, written plan—often same day.
Talk to our certified technicians in Burnaby for a quick, accurate assessment. Call (604) 423‑4524 and ask for a brake inspection. We’ll document pad and rotor measurements and outline next steps—no guesswork.
Frequently Asked Questions
Most brake questions come down to whether noise or vibration leads the symptoms. Noise suggests pads; vibration suggests rotors. Measure both. Replace pads first when thin; replace rotors when below spec or they cause pulsation. Bed in new parts to avoid judder.
How do I tell if I need pads or rotors?
Start with symptoms: squealing or grinding points to pads; pulsation points to rotors. Verify by measuring pad thickness and rotor thickness/runout. Below 3–4 mm on pads or below minimum rotor thickness means replacement. When in doubt, a shop can confirm with a micrometer and dial indicator.
Should I replace rotors with every pad change?
Not automatically. If rotors are within thickness spec, have minimal runout, and the surface is even, you can install new pads and bed them in. Replace rotors when they’re below spec, cracked, heavily scored, or causing pulsation. Many vehicles go through more than one pad set per rotor set.
Why do my brakes vibrate only at higher speeds?
High‑speed vibration usually indicates rotor runout or disc thickness variation amplified at speed. It can also come from wheel balance or suspension issues. A rotor measurement and wheel balance check will isolate the cause. If rotors are thin or uneven, replacement resolves most pulsation complaints.
Can detailing or washing help brake performance?
Cleaning removes dust that hides cracks or grooves, making inspections easier. It doesn’t improve braking power by itself. For context on exterior cleaning differences, see discussions of detailing vs. washing and common myths that influence how well wheels are cleaned for inspection.
Methodology: How We Built These 10 Checks
These checks reflect daily diagnostics in our Burnaby shop: measure, inspect, then road test. We prioritize pad measurements, rotor specs, and hardware function, followed by alignment and tire validation. This process isolates root causes and prevents unnecessary part swaps.
We combined manufacturer service practices with hands-on lessons from collision-induced brake complaints. Every inspection at A1 Buller includes pad and rotor measurements recorded on the work order, test drives on familiar routes, and verification of alignment and torque. The result is a repeatable, transparent process that points to pads, rotors, or both with confidence.
Key Takeaways
Measure first, replace what’s below spec, and bed in properly. Pads usually go first; rotors follow when thin, cracked, or causing pulsation. Support brakes with good tires and alignment, and you’ll stop straight and quiet throughout Burnaby driving.
- Brake pads vs rotors isn’t either/or—measure both and decide from data.
- Noise → pads; vibration → rotors; grinding → often both.
- Alignment, tires, and hardware health shape braking feel as much as pad compound.
- Documented measurements eliminate guesswork and repeat visits.
Note: Product pages for abrasive backing pads are not for precision rotor finishing and are included only to illustrate why generic abrasives don’t belong on brake rotors. Wheel cleaning insights help you see components clearly during DIY inspections.